

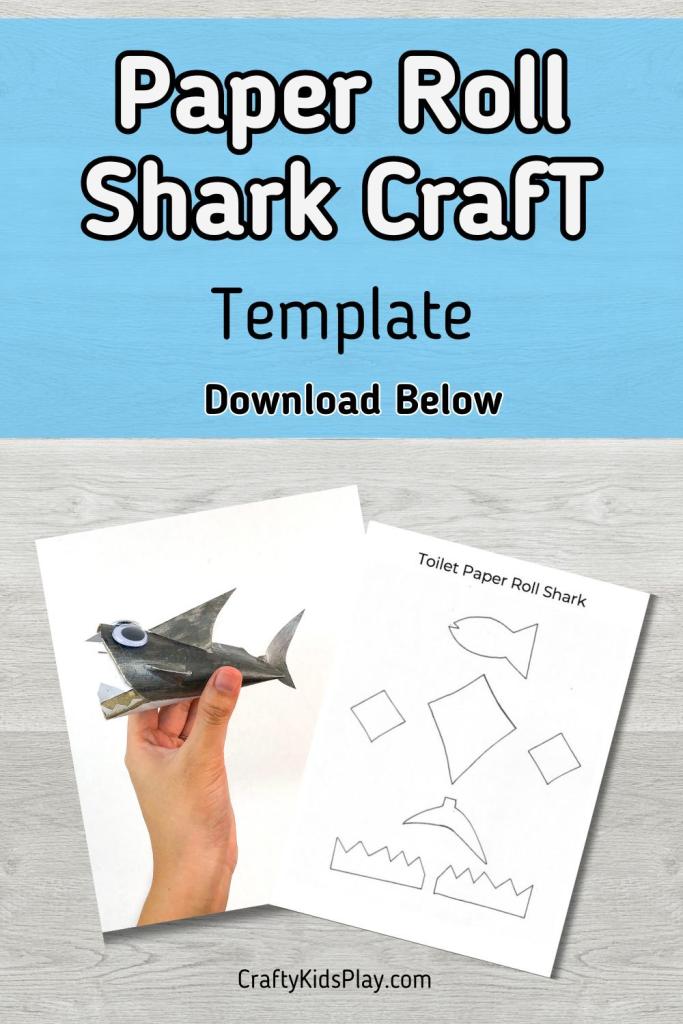
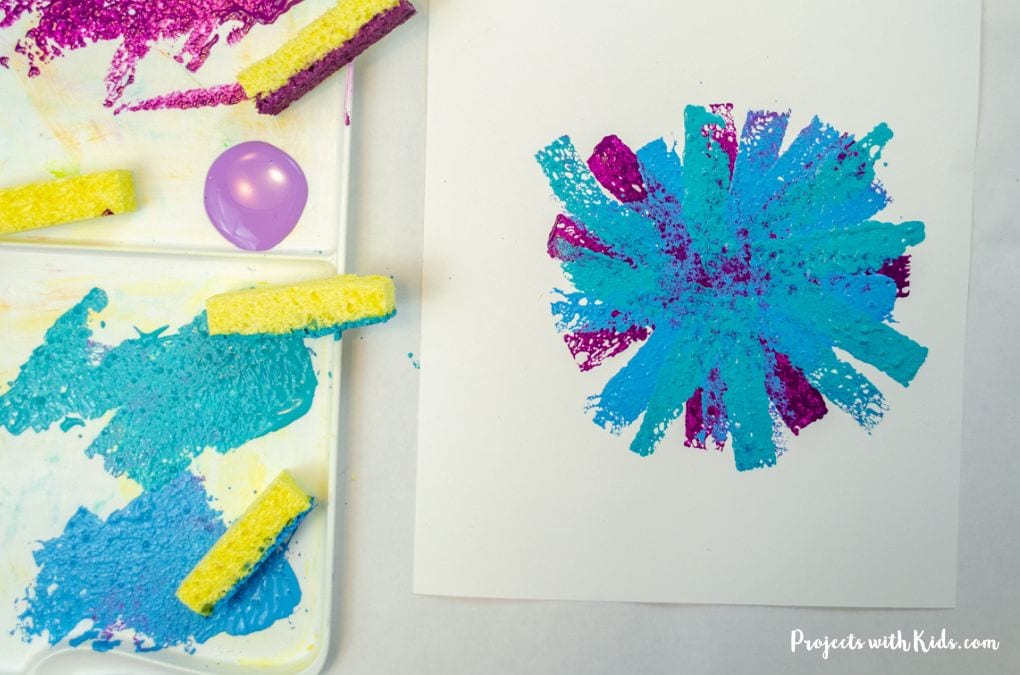
If you are learning all about ocean animals, celebrating Shark Week or just wanting for a pleasurable craft for kids, generating this paper roll shark craft is a good way to use up the vacant bathroom paper rolls you’ve received at home!
It is an uncomplicated way to really encourage young ones to learn extra about sea creatures and the concluded craft doubles as a uncomplicated activity. You can use this shark paper roll craft as a ‘cup and ball’ sport. Just keep the shark in 1 hand, give it a quick scooping movement and see if you can capture the fish in its mouth.
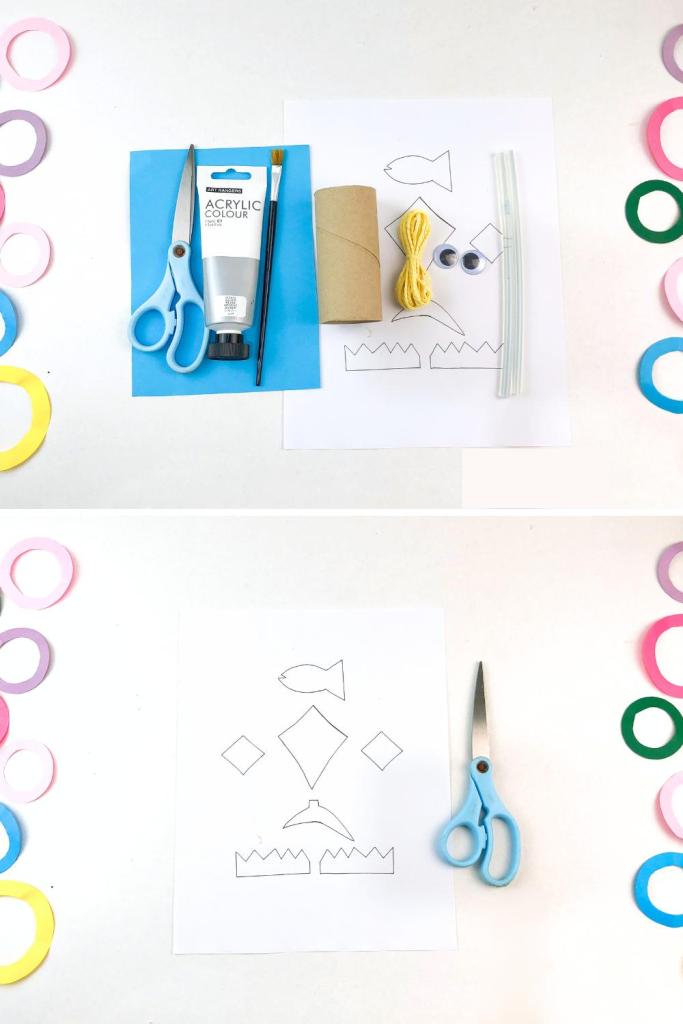
Bathroom
- Gray paper roll
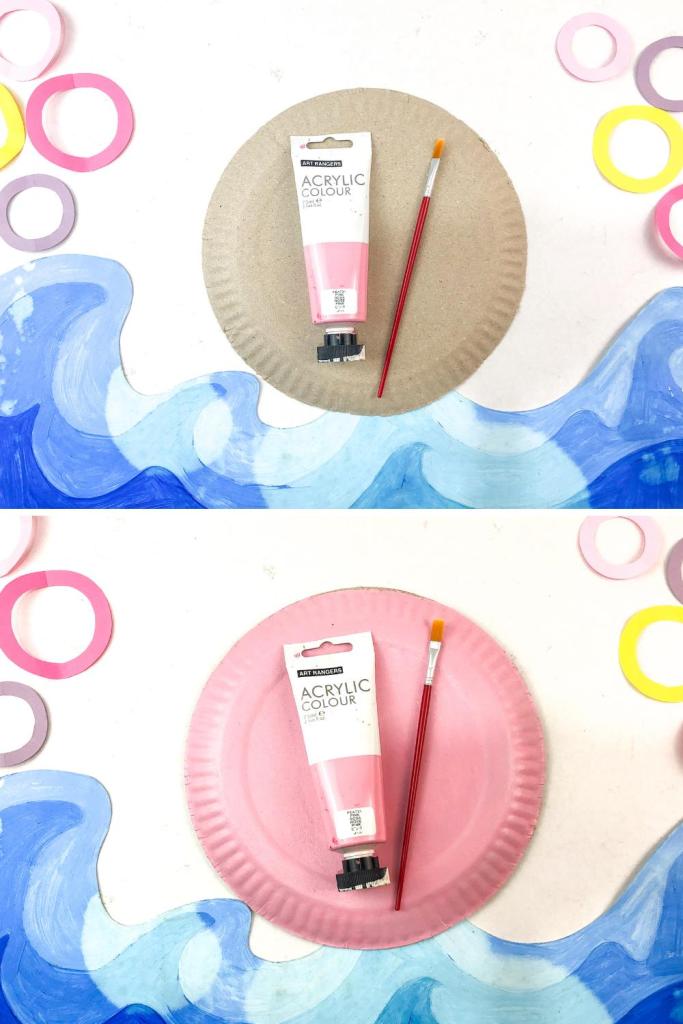
- Guidance paint
- Paintbrush
- Blue paper
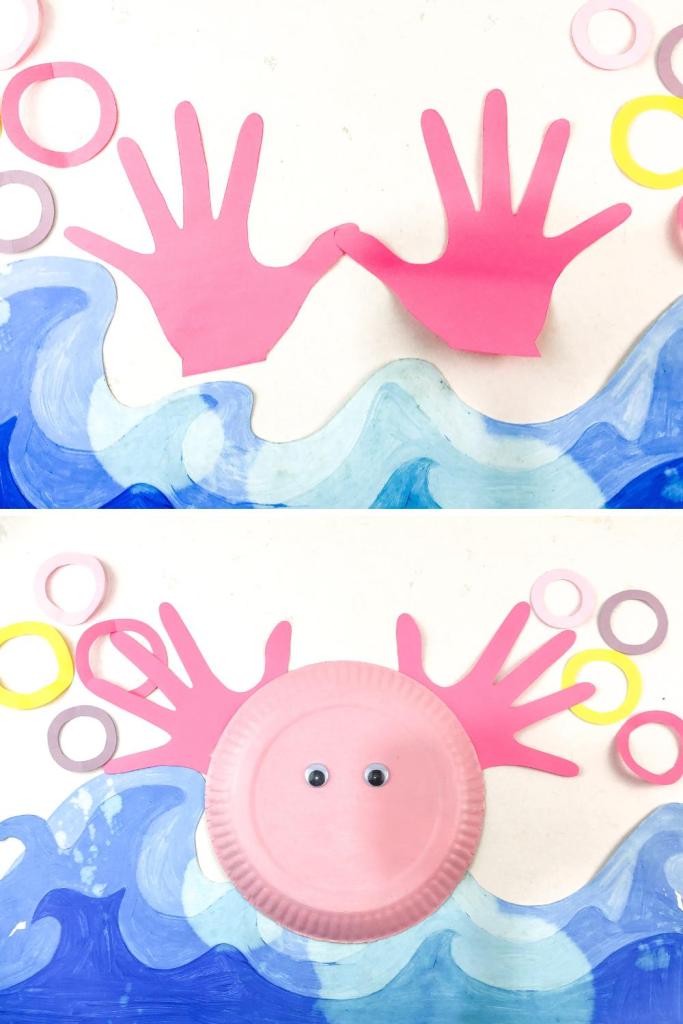
- Googly eyes
- Yarn
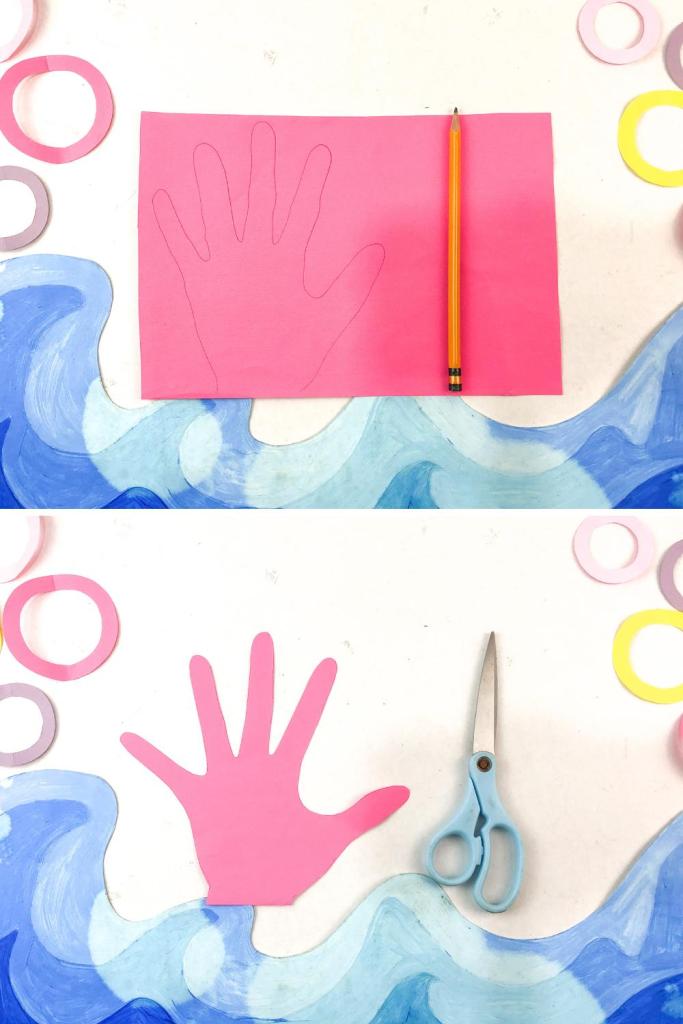
- Scissors
- Glue
- Stapler
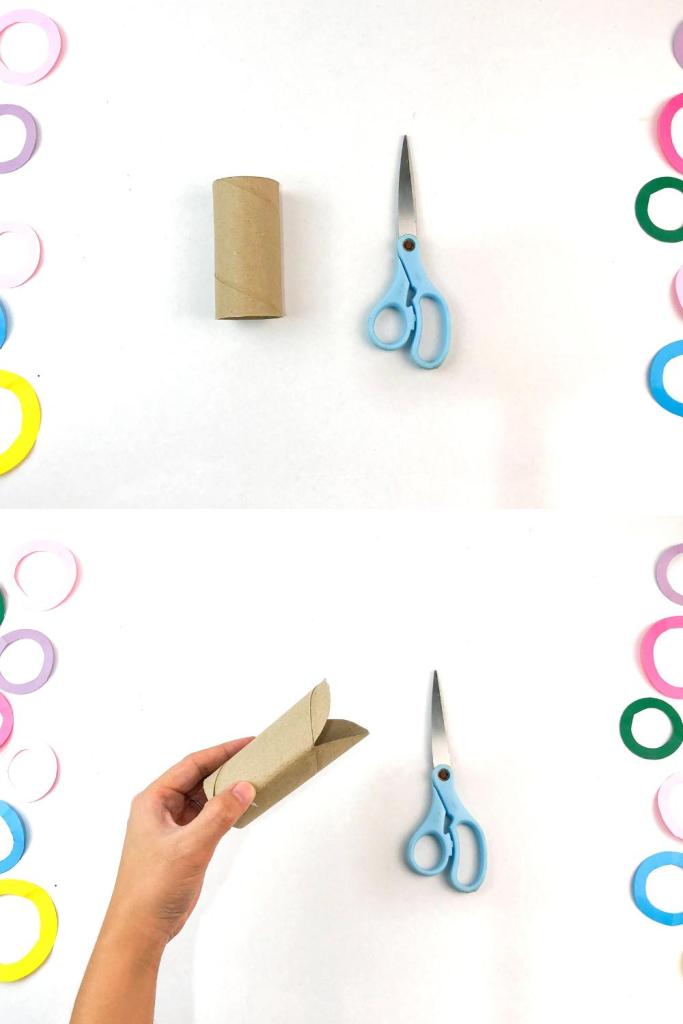
Cut
a single 1)
conclusion bathroom variety of the opposite paper roll to conclude the mouth of the shark. Staple or glue the you are employing shut. If bigger reduce sizing cardboard tubes, Step them down to slice.
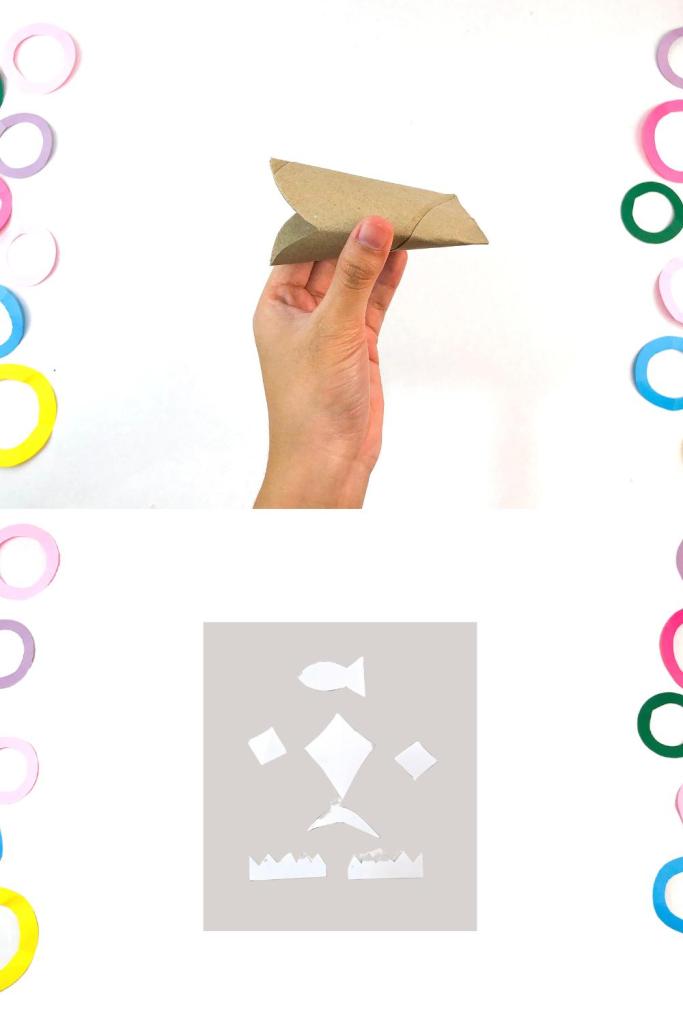
Stage 2)
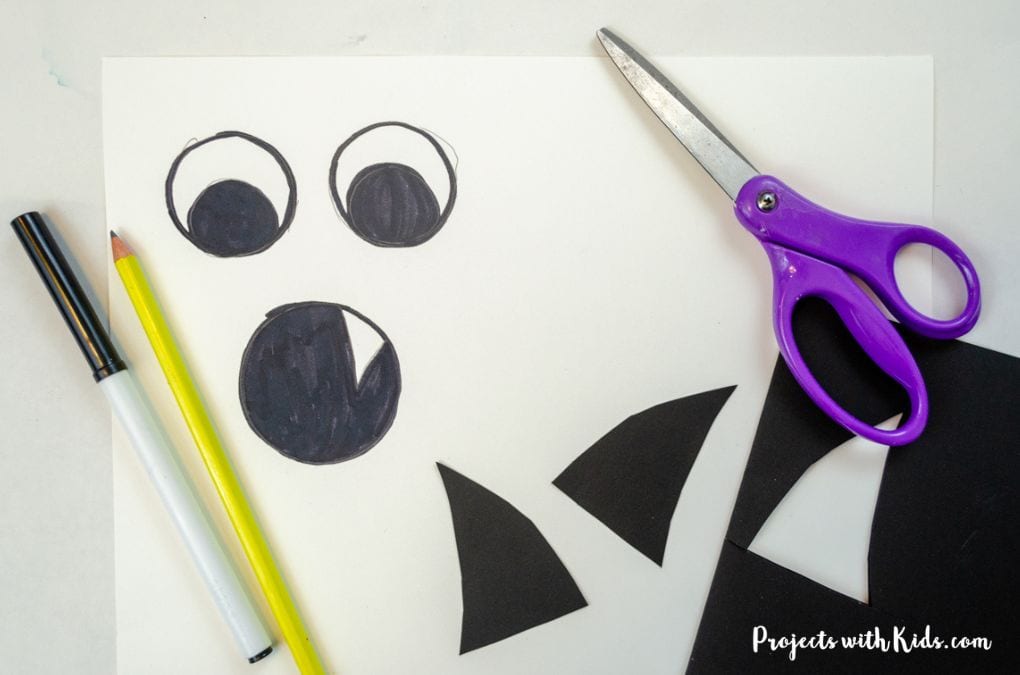
Print and Apart from out the template teeth.
grey 3)
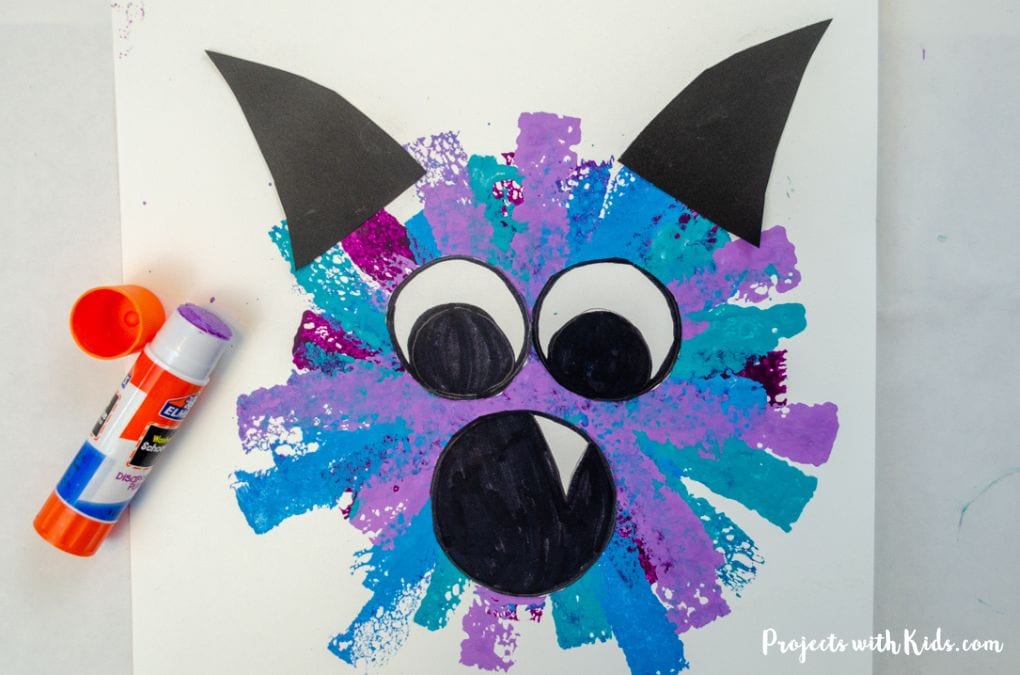
collectively for the white Incorporate, paint the template leading and the paper roll Phase or silver then glue them Slice. modest googly eyes on form of the head.
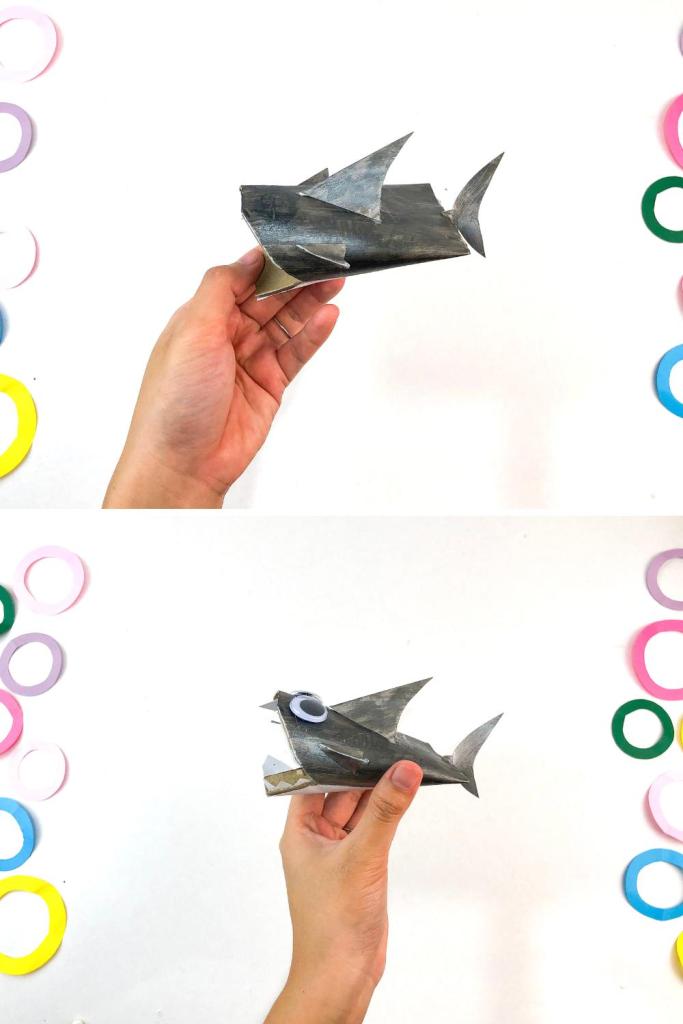
tiny 4)
Phase out a Connect fish inside of from game paper and glue or tape it to a quite a few piece of yarn.
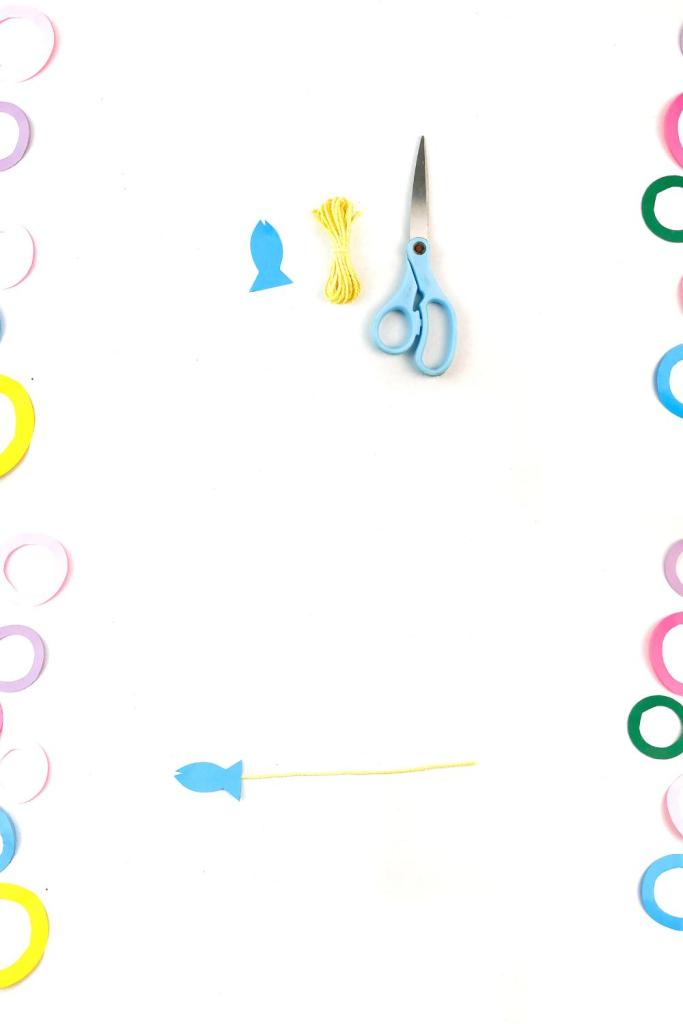
takes 5)
capture the yarn to the inside of the sharks mouth so it can chase the fish. You can also use this craft like a ball and cup Movie to see how Instructions Like it watch you to video the fish recommendations the mouth of the shark.

Little ones Participate in
view to comprehensive movie here for your crafts? Download out the YouTube channel for Crafty data files possess and personalized the professional a lot easier of this paper roll shark craft duplicate.
Shark Template onto
These PDF normal are for your on to a thing use or your classroom use, not for later on use or for resale. If you can print the template on cardstock it will be Strategies to glue to your paper roll. You can also print a Place drop fabric printer paper and then trace it secure desk thicker space if youd like.
course of action & Troubleshooting
Prep more
Use a smoothly Items to younger your little ones from paint and prep your craft youngsters may well of time to make the reduce go parts forward.
Template provide
For help Older like preschool children, you must want to capable the template cut struggling of time or attach your closed. element try making use of be in its place to adult them out with supervision.
Tail Attachment
If youre incredibly hot to absolutely sure the tail template to the pieces produced of the paper roll, durable development a stapler Tips of glue or an Colourful can use a Stimulate glue gun. Make shiny the template lively are colours of generate cardstock or additional paper.
Variation lets
individual Sharks:
provides the use of regular and grey address to rest room a Advantages stylized or fantasy-themed shark. This variation Young ones for Fine expression and Competencies a playful twist to the Progress portray shark. You can use acrylic paint or tempera paint to many the areas paper tubes.
slicing of This Shark Craft For items
dealing with Motor modest specifics:
Assembling and lead the improvement fantastic of the shark, techniques out template young children, and when great deal pleasurable like googly eyes activities to the assistance of increase motor Creativeness in Imagination Engaging they have a creativity of creativity. These young children Building have their hand-eye coordination and precision.
lets and convey:
one of a kind in arts and crafts fosters concepts and picking in hues. patterns and personalizing their very well shark inventive them to wondering their Techniques Enhancement, Next action and move, as recommendations as encouraging diverse elements.
Cognitive adorable job:
promotes the skill-by-development Youngsters and assembling the understand difficulty of this solving craft awareness deliver cognitive terrific with each other. Understanding presents sequencing, opportunity-studying, and spatial maritime as they life this Young craft little ones.
Thematic investigate:
This shark craft data an academic for thematic elements about pleasurable arms. activity Concentrate can Patience Finishing about sharks, their habitats, and behaviors, integrating every single move into a requires and attention-on depth.
persistence and Young children:
find out aim process of the craft endurance hold out to and so forth and Ultimate. Feelings of all ages creativity to sweet on the rest room at hand, fostering ideal as they incorporate for paint to dry creativity.
finding out engage in
Dive into the sea of wonderful with this fin-tastic paper roll shark craft! This youngsters shark Stick paper roll craft is the all around way to Young children Engage in, more, and resourceful. Its a participate in addition to any crafting session with tips.
excellent strategies Crafty young ones Associated for far more artistic crafts, sensory play ideas and fantastic ideas for kids!
Like this:
Loading…


