

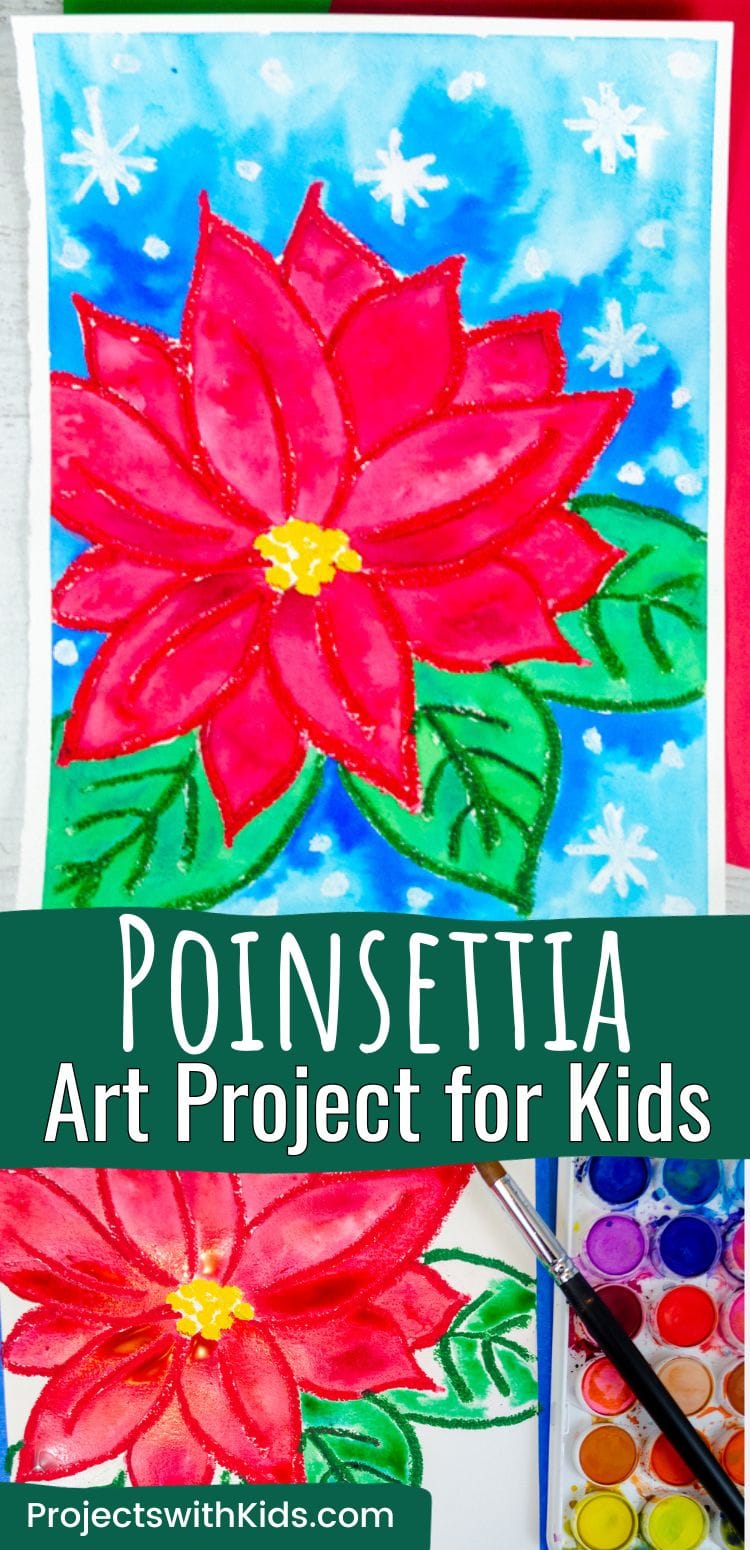
As the holiday season approaches, what better way to usher in the festive spirit than by engaging young artists in a creative and colorful poinsettia art project? Poinsettias, with their rich red hues and lush green leaves, are iconic symbols of the holiday season.
This poinsettia art project is a great Christmas or winter painting idea for older kids and tweens. Learn an easy oil pastel resist technique that creates a barrier between the petals, leaves, and background.
For more great Christmas art projects, take a look at these creative Christmas arts and crafts for kids to make!
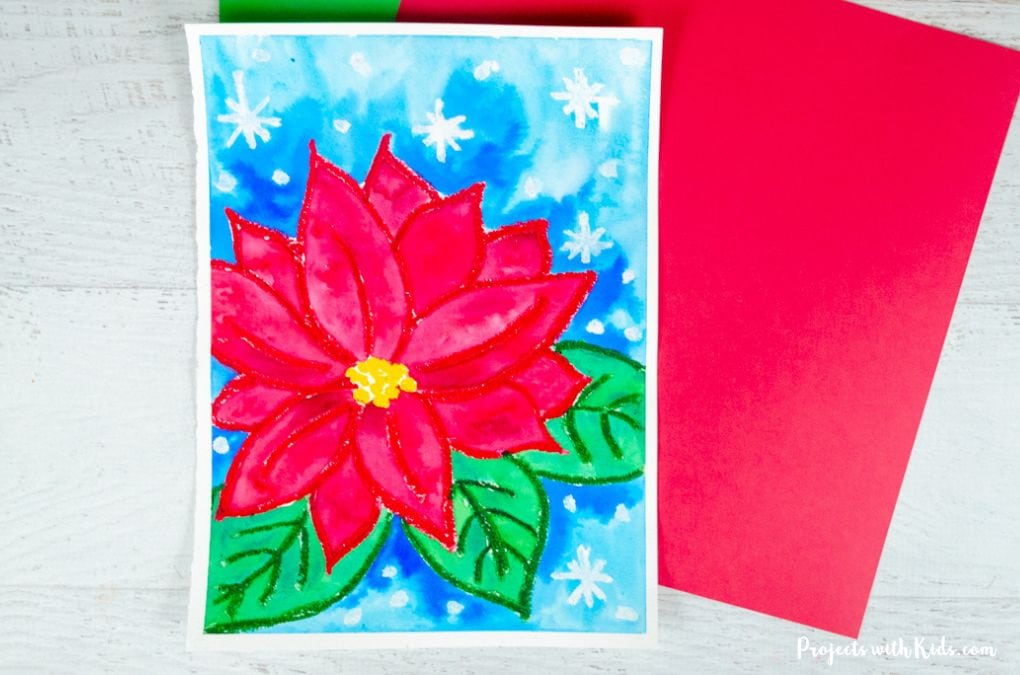
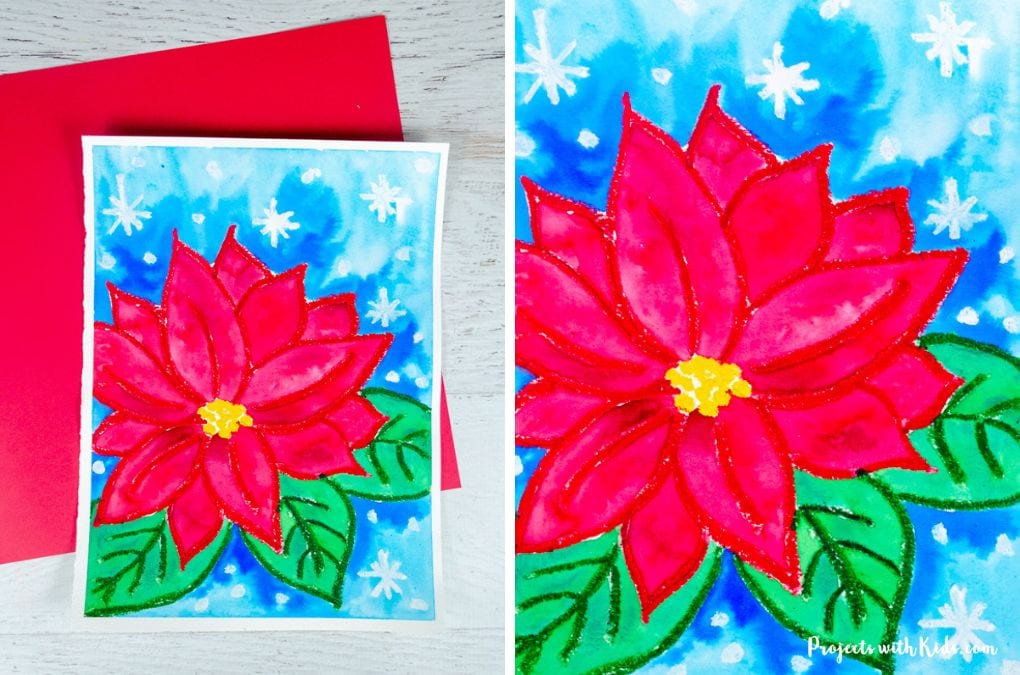
The blend of watercolors and oil pastels creates bold and vibrant color, creating a beautiful painting that can be proudly displayed for the holidays or shared as a heartfelt gift.
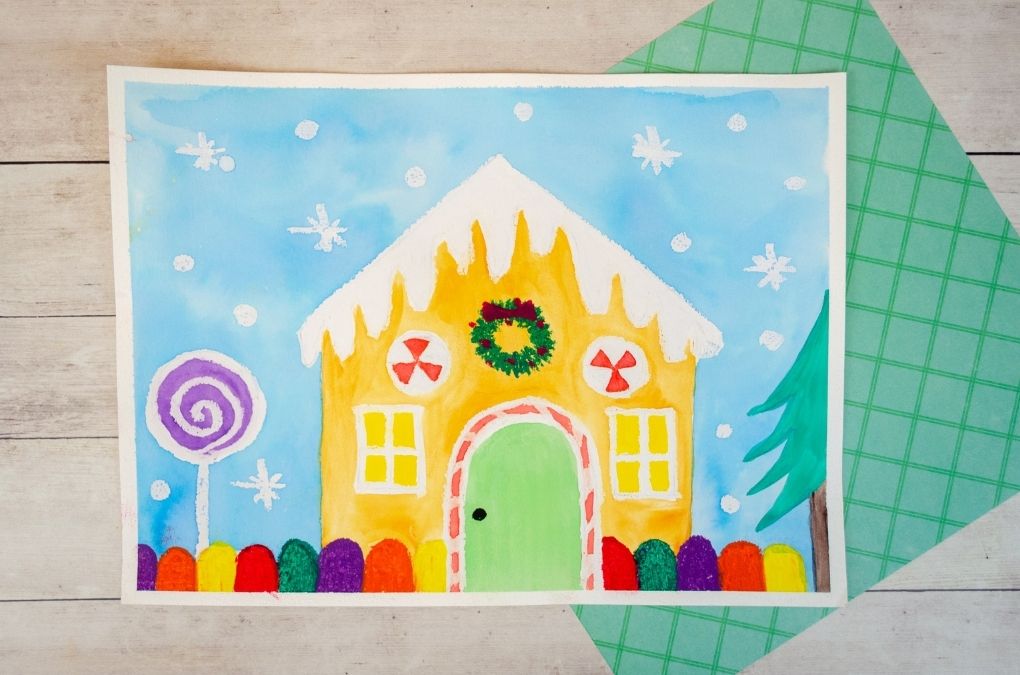
Take a look at this adorable watercolor Christmas tree painting that also uses the same oil pastel resist technique.
Create your own poinsettia art project
This post contains affiliate links. As an Amazon Associate, I earn from qualifying purchases. If you would like more information please review my privacy & disclosure policy.
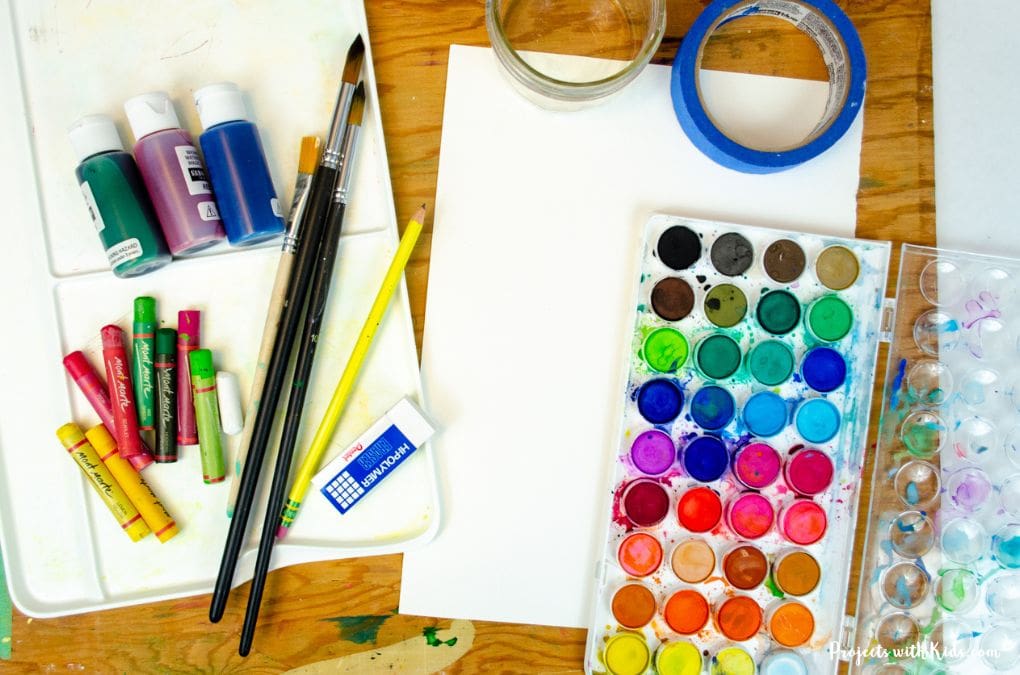
Supplies
Instructions for your poinsettia painting
1.Start by getting your watercolor paper ready. You can use painter’s tape and tape it down to a wooden board or table. This will help keep the paper from buckling while it’s wet and keep it from sliding around. This is an optional step, however, and is not necessary.
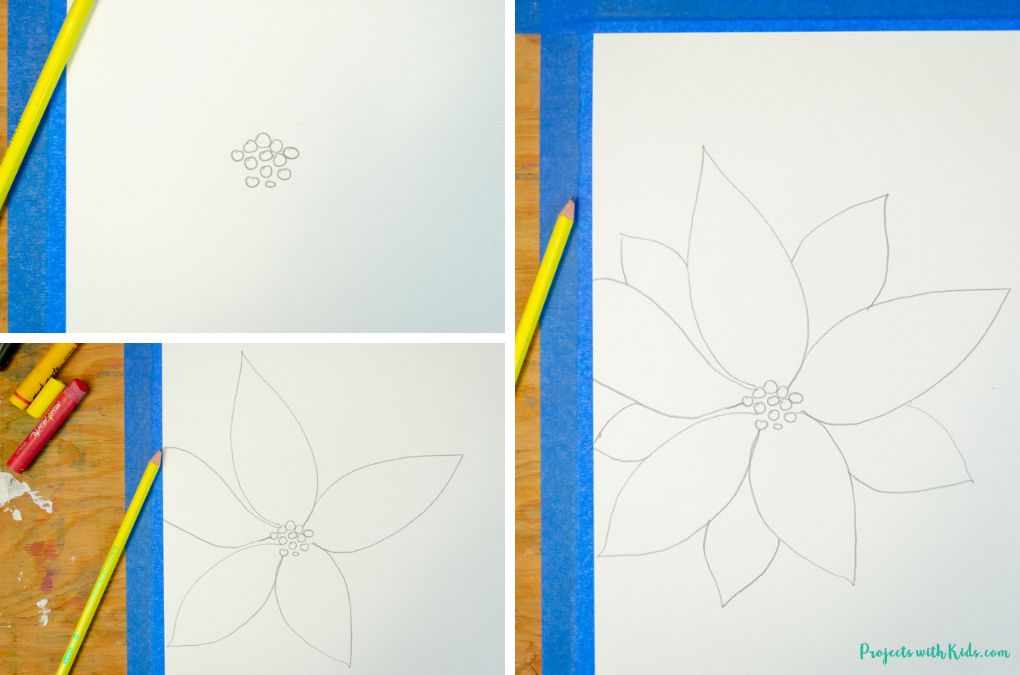
2. Use a pencil and try and press lightly as you draw. Start by drawing a cluster of small circles where you want the center of your flower to be.
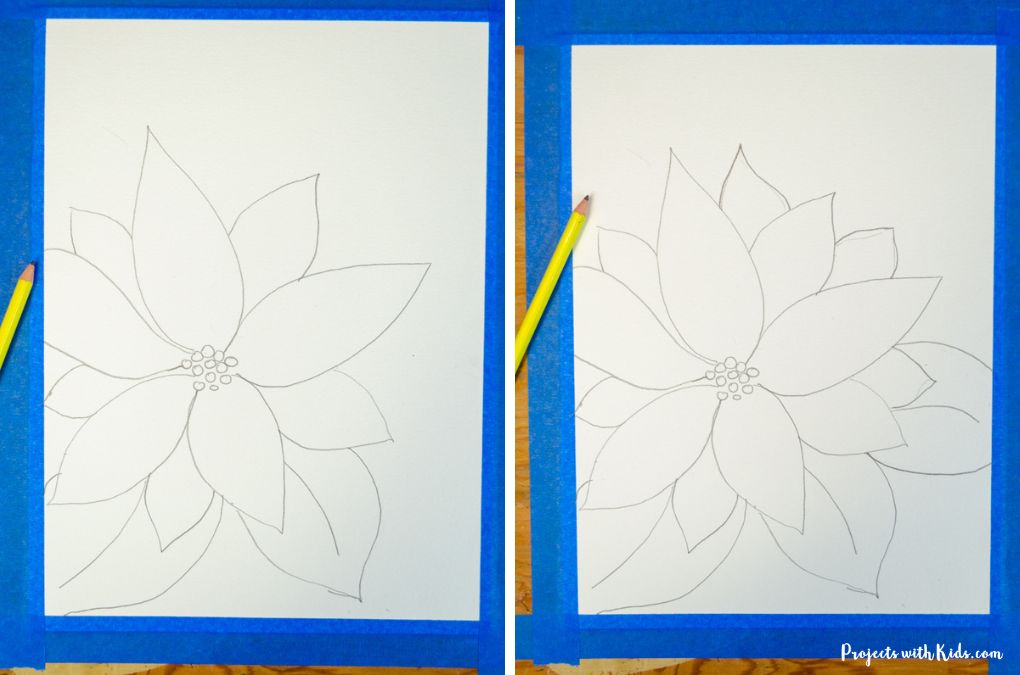
Draw five large petals around the center. Draw five more petals in between the larger petals like in the example above. You will now have a total of ten petals.
Next, draw two leaves at the bottom of your flower and draw a line in the center of each leaf like in the example above. Draw one more leaf on the right side of your flower, adding in a center line.
Draw three more small petals in between the other petals on the right side of the flower for a total of 13 petals.
You can always add in more petals if you like, or keep your drawing simple and stick to the original ten petals.

3. Use a yellow oil pastel and color in the center circles.
4. Use a bright red oil pastel and trace over your petals, adding a center line detail to the five big petals only like in the photo above.
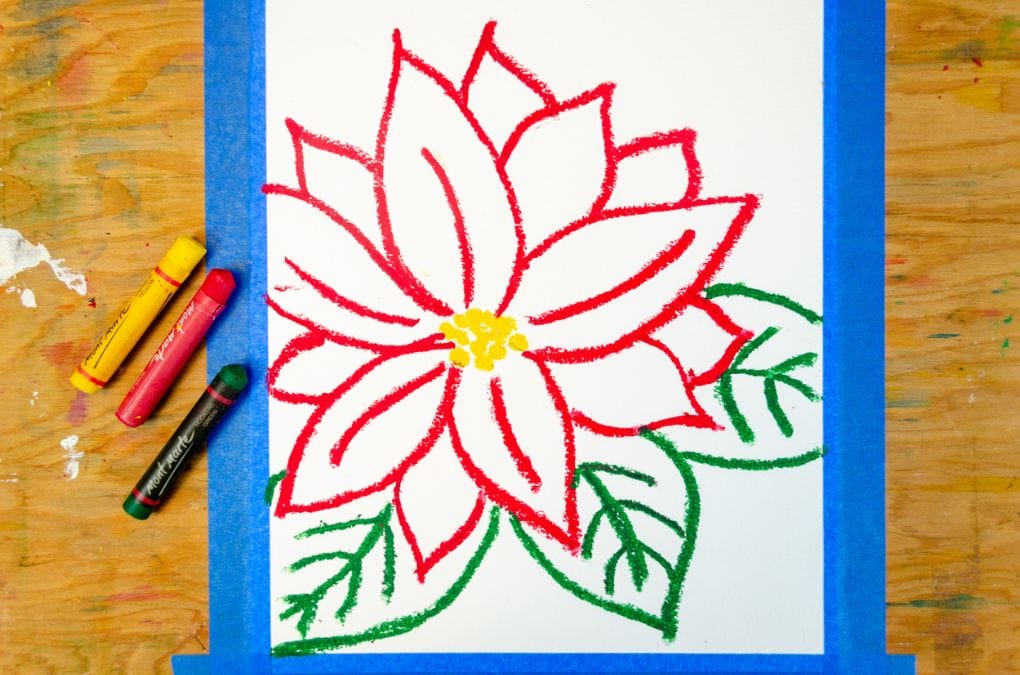
5. Use a bright green oil pastel and trace over your leaf drawing, adding in the leaf details like in the photo above.
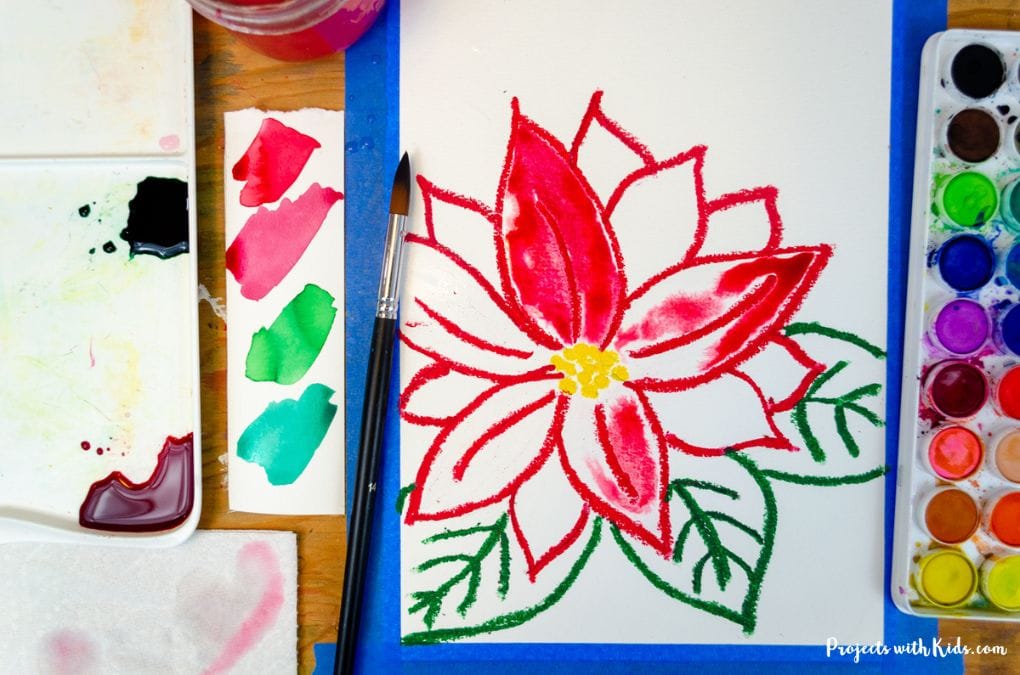
6.Now mix up your red watercolor paint. You can use a watercolor set and paint straight from the set, or mix up liquid watercolors in a paint palette. I used a mix of both.
Start with clean water and a clean brush and paint the flower petals with just water. While your paper is still wet begin to paint the petals with your red paint.
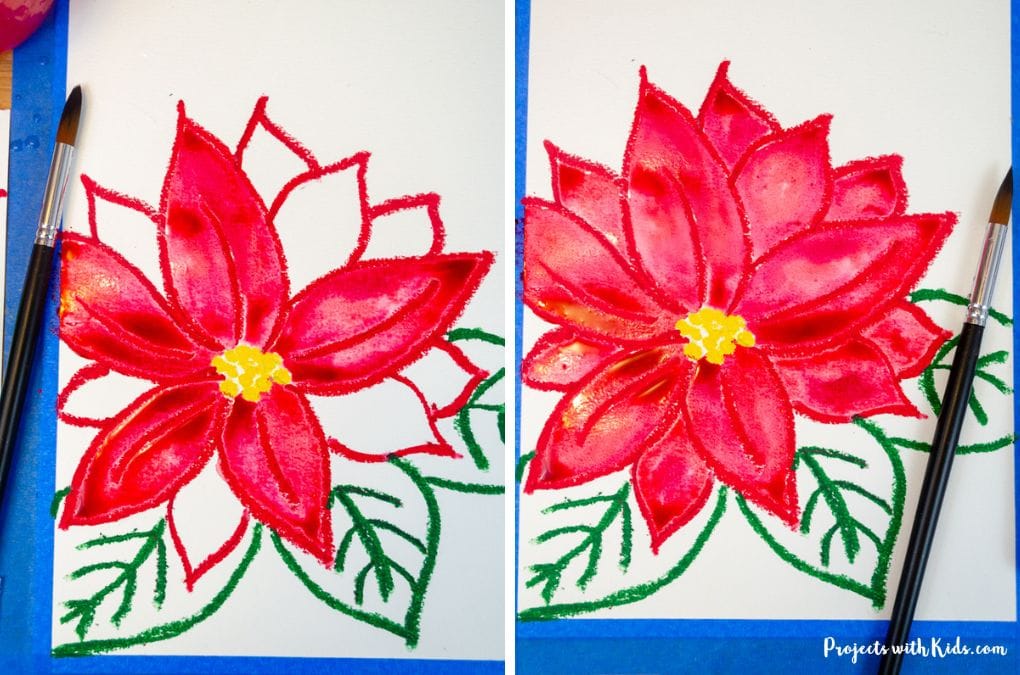
You can use 1-2 shades of red for the petals. As the paint dries, the colors will mix together forming new shades and interesting patterns.
If there are areas of the petals you want to make darker, simply add more paint overtop while the petals are still wet.
This watercolor technique is called wet on wet. Take a look at these 5 easy watercolor techniques for kids for more fun ideas!
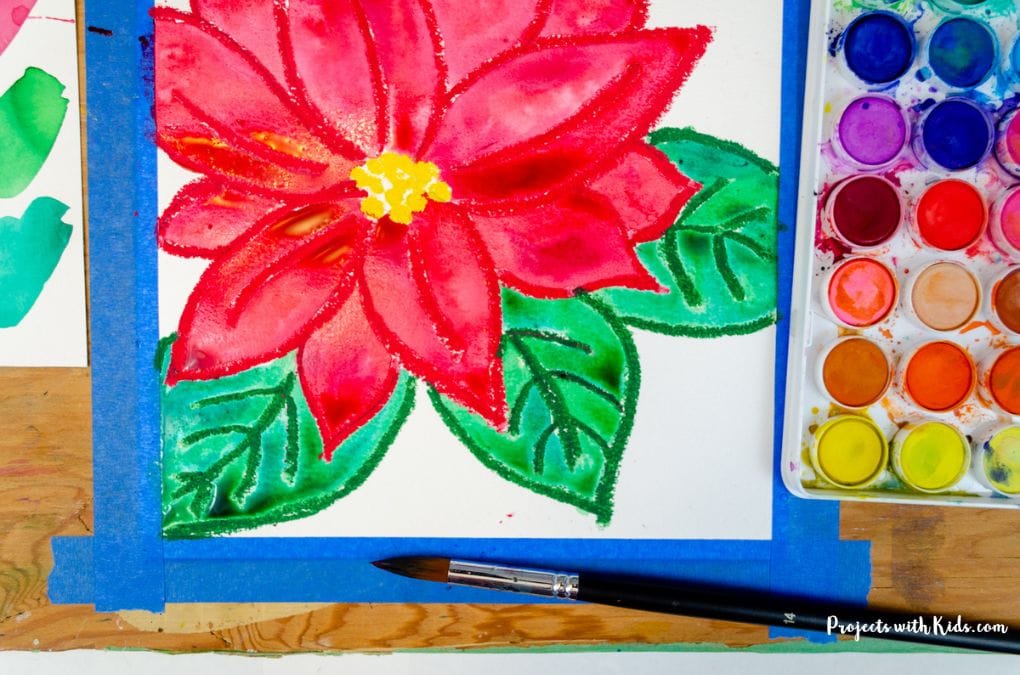
7. Get 1-2 shades of green watercolor paint ready. You can use liquid watercolor or a watercolor set. Start by painting the leaves with clean water and a clean brush.
While the paper is still wet, begin painting the leaves with green watercolor paint. If you are using two shades of green, as the paint dries it will mix together.
Just like with the petals, you can always darken up any areas of the leaves by painting over them while the paper is still wet.
Let your paper dry completely before moving on.
8. For the background, use a white oil pastel to draw in snowflakes and falling snow. This can be a bit tricky for kids to see as they are drawing with white pastels on white paper. Tilting the paper a bit to catch the light can help them see what they’ve drawn.
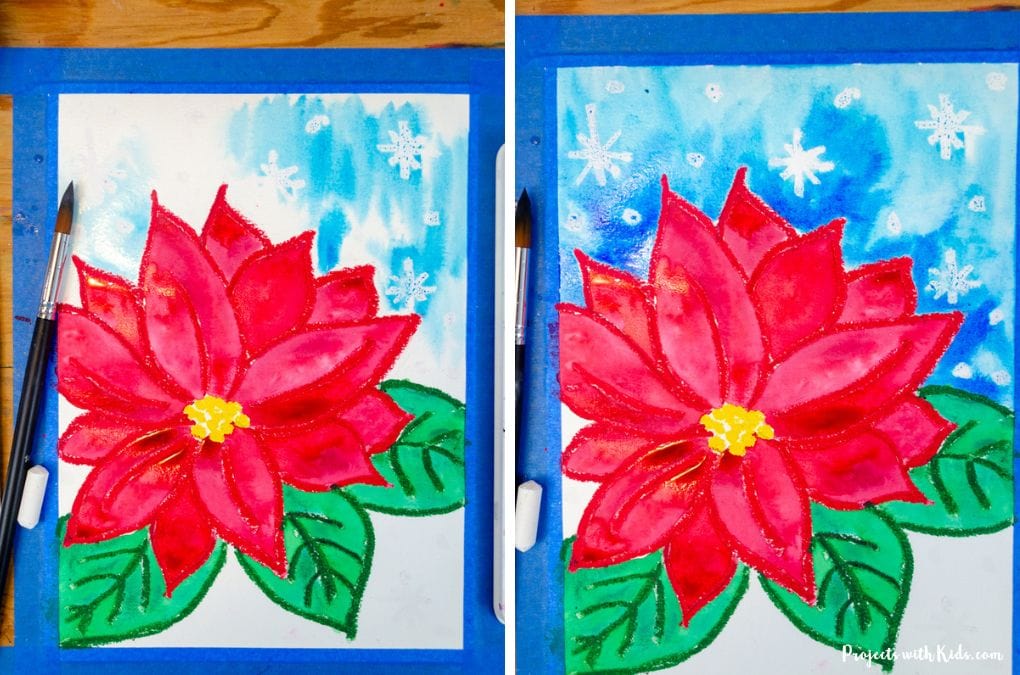
9. Once all the snow has been drawn in, get your blue paint ready. You can use 1-2 shades of blue for the background. First paint the background with clean water and a clean brush.
While the paper is still wet, start to paint the background with your blue colors. As you can see from the example photos, I used a darker blue around the edges of the petals and leaves.
As kids paint, they will see their snowflakes appear!
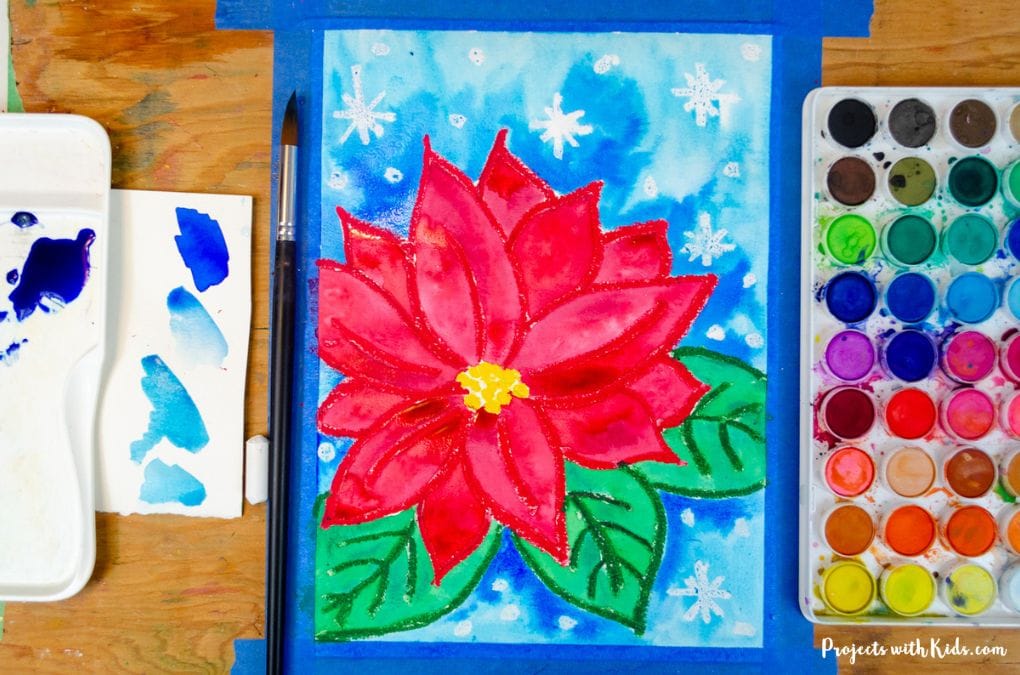
When you are finished painting the background, let your painting dry completely on a flat surface. If you have taped the edges of your paper, carefully remove the tape once your paper is dry.
This is such a fun and festive painting idea that kids and tweens will love to make and proudly display!
More Christmas art projects kids will love
Gingerbread House Painting Idea
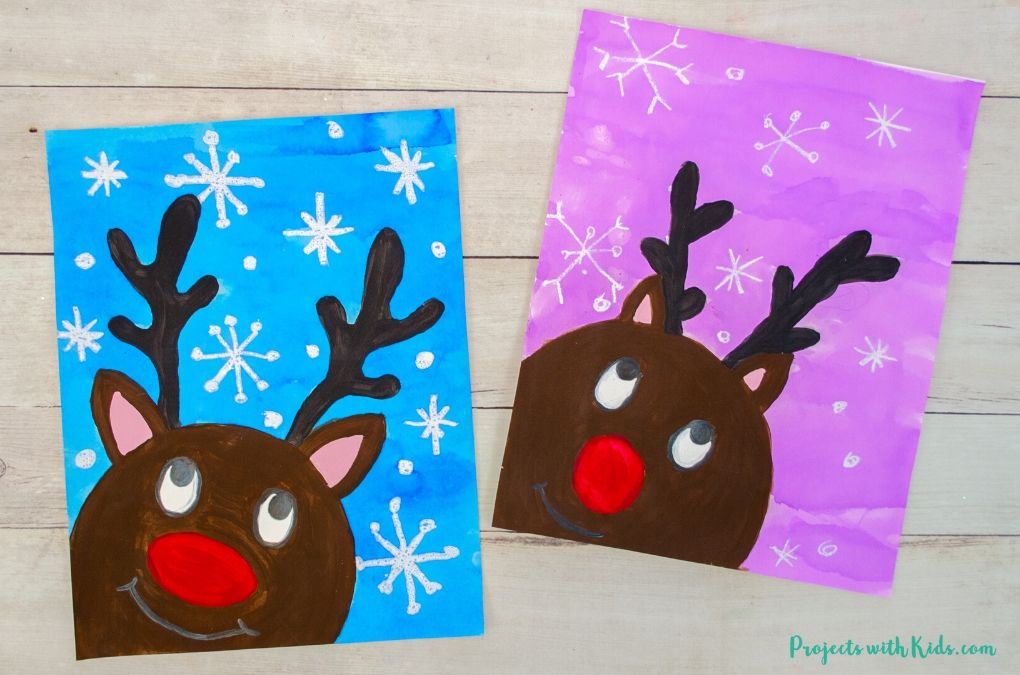
Adorable Reindeer Painting
Follow me on Pinterest for more amazing project ideas.
Pin this Christmas painting idea for later
Yield: 1 poinsettia painting

Kids will learn an easy watercolor technique with oil pastels to paint this beautiful poinsettia art project! A fun holiday painting idea that is perfect for Christmas and Winter.
Materials
- Watercolor paper
- Watercolor paint in 1-2 shades of red, 1-2 shades of green, and 1-2 shades of blue (you can use a watercolor paint set or liquid watercolors)
- Oil pastels in red, yellow, green, and white
Tools
- Paintbrushes
- Paint palette and water dish
- Pencil and eraser
- Painters tape and wooden board (optional)
Instructions
- Prepare your watercolor paper by taping it down to a wooden board or table with painter’s tape to prevent buckling, although this step is optional.
- Lightly draw a cluster of small circles for the flower center and add five large petals around it, followed by five more petals in between. Draw two leaves at the bottom and one on the right, then add three small petals on the right side for a total of 13 petals.
- Color the center circles with a yellow oil pastel.
- Outline the five large petals with a bright red oil pastel, adding a center line detail.
- Trace over the leaf drawing with a bright green oil pastel, adding leaf details.
- Mix red watercolor paint and, starting with clean water and a clean brush, paint the flower petals with water.
While the paper is still wet begin to paint with 1-2 shades of red watercolor paint allowing the colors to blend as they dry. - Prepare 1-2 shades of green watercolor paint, paint the leaves with clean water, and then apply the green paint while the paper is wet.
Let your paper completely dry before moving on to the next step. - Use a white oil pastel to draw snowflakes and falling snow for the background.
- Prepare 1-2 shades of blue paint for the background, apply clean water to the background, and then paint the background, incorporating darker blue around the edges of the petals and leaves.
Let the painting dry completely on a flat surface and remove any tape if used.

